Yoga helps to develop calmness, improve concentration and focus, helps you cope with stress and difficult emotions, sharpens your awareness of yourself and others, builds confidence and self-esteem, and promotes flexibility, coordination, and strength.
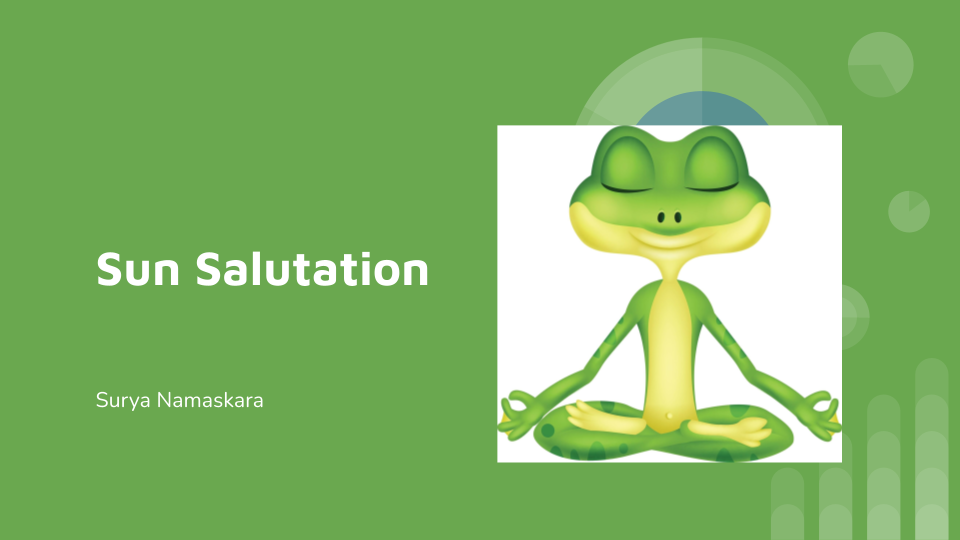
Sun Salutation
Surya Namaskara (Sun Salutation) is one series of yoga poses that require only 5 to 15 minutes of daily practice to obtain beneficial results. Such a practice puts you in touch with your body, mind, and spirit and creates in you an awareness of the richness of the universe. But for this to happen, it is important to develop a daily routine.
The first thing in the morning or before the evening meal when the stomach is empty is a good time to practice. Start off with one or two rounds of the practice. Then work up to six or more rounds as tolerated.

Position 1: Prayer Pose.
- Stand erect with your feet together or slightly apart. (Mountain Pose)
- Close your eyes and place both hands together in front of the chest.
- Be aware of the pressure of the palms and the hands on the chest.
- Imagine your heart as a green light. Let that green light spread throughout your entire body.
- Relax your body.
- Breathe normally.
.
Position 2: Raised Arm Pose
- Raise and stretch both arms above the head, with palms facing upward.
- Keep the arms separated, and shoulder-width apart.
- Arch the back and stretch the whole body.
- Stretch the head as far back as is comfortable and be aware of the curve of the upper back.
- Inhale while raising your arms.
Position 3: Hand-to-Foot Pose
- In a continuous movement bend forward from the hips.
- Bring the hands as close as possible to the floor on either side of the feet and try to touch the knees with the forehead.
- Do not strain. The legs should remain straight.
- Try to keep the back straight, focusing your awareness on the pelvis, the pivoting point for the stretch of the back and leg muscles.
- Exhale while bending forward.
- Try to contract the abdomen in the final position to expel the maximum amount of air from the lungs.
- Caution: People with back conditions should not bend forward fully. Bend from the hips, keeping the spine straight, until the back forms a ninety-degree angle with the legs, or bend only as far as is comfortable.
Position 4: Equestrian Pose
- Keeping both hands in place, on either side of the feet, bend the left knee while extending the right leg backward as far as possible.
- The right toes are tucked under, and the knee is touching the floor.
- Bring the pelvis forward, arch the spine, and look up.
- The fingertips touch the floor and balance the body.
- Focus your awareness on the area between the eyebrows.
- You should feel the stretch from the thigh moving upward along the front of the body all the way to the area between the eyebrows.
- Inhale while bringing the chest forward and up and stretching the right leg back.
Position 5: Down Dog Pose
- Bring the palms to the floor.
- Take the left foot back and place it beside the right.
- Simultaneously raise the buttocks and lower the head between the arms, so that the body forms a triangle with the floor.
- The legs and arms should be straight in the final position. Aim to press the heels down to the floor but do not strain.
- Bend the head as far forward as possible so that the eyes are looking at the knees.
- Focus your awareness on the neck area.
- Exhale while taking the left leg back.
Position 6: Salute with Eight Points
- Lower the knees to the floor and then bring the chest and chin to the floor, keeping the buttocks elevated.
- The hands, chin, chest, knees, and toes touch the floor, and the spine is arched.
- Focus the awareness on the center of the body or on the back muscles.
- The breath is held in this pose. There is no respiration.
Position 7: Cobra Pose
- Lower the hips while pushing the chest forward and upward with the arms.
- Straightening the elbows, arch the back, and push the chest forward into the cobra pose.
- The legs and lower abdomen remain on the floor and the arms support the trunk.
- Unless the spine is very flexible the arms will remain slightly bent.
- Focus the awareness on the base of the spine feeling the tension from the forward pull.
- Inhale while raising the torso and arching the back.
Position 8: Down Dog Pose
- This stage is a repeat of position 5.
- Keep the arms and legs straight.
- While pivoting from the shoulders, raise the buttocks and bring the head down to assume position 5.
- The hands and feet do not move from position 7.
- Raise the buttocks and lower the heels to the floor.
- Exhale while raising your buttocks.
Position 9: Equestrian Pose
- This stage is a repeat of position 4.
- Bring the legs forward, placing the foot between the hands.
- Simultaneously bring the right knee down to the floor and push the pelvis forward.
- Arch the spine and look up to assume position 4.
- Inhale while assuming the pose.
Position 10: Hand-to-Foot Pose
- This stage is a repeat of position 3.
- Bring the right foot in beside the left.
- Straightening the legs, bend forward, and raise the buttocks while bringing the head in towards the knees.
- The hands remain on the floor beside the feet.
- Exhale while performing the movement.
Position 11: Raised Arms Pose
- This stage is a repeat of position 2.
- Bend from the hips, raise the torso, and stretch the arms above the head.
- Arch backward to reassume position 2.
- Inhale while raising the torso and arms.
Position 12: Prayer Pose
- This stage is a repeat of position 1.
- Straighten the body and bring the hands together in front of the chest, reassuming position 1.
- Exhale while assuming the final position.
In Conclusion
Positions 1-12 constitute half a round of this practice. To complete the other half, the same movements are performed, with the only variation being that the left leg is brought back in position 4 and the right leg is moved forward in position 9. This gives a balance to each side of the body in each half-round of the practice. When position 12 is completed, lower the hands to the side and then commence the second half of the practice. If, at any time, you need to rest, breathe normally between any individual pose. Use the time to reorient your awareness and posture. Ask yourself, “How do I feel?” Then adjust yourself so that you are comfortable, and your breath is slow and relaxed before you continue with the practice.
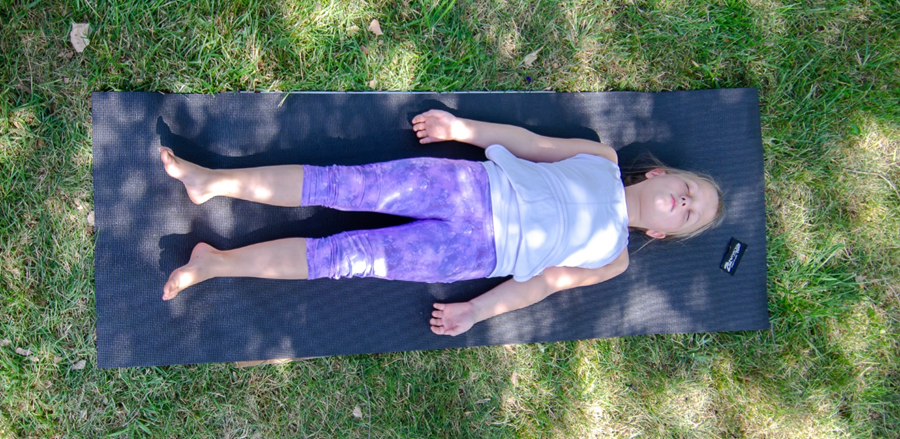
After completing your daily practice it is important to have a period of relaxation until your heartbeat and breathing have returned to normal and all tensions have been released from the body. The yoga pose of relaxation is called savasana.
Savasana is performed by lying flat on your back, feet slightly apart, arms a few inches from your body with palms up, and eyes closed. Next, bring your awareness to your body and start to relax any tension starting with the feet and moving slowly up the body to the head. As you become aware of any tension it will quickly melt away. Once you become aware of your whole body you will feel limp and in a state of total relaxation.

About the Book
ADHD: A Quick and Easy Guide for the Stressed Parent of a Child with ADHD will be helpful to those who wish to function as better role models for their children and to those who need the comfort of knowing that there are solutions to the multitude of problems facing them. This book eases your access to information about ADHD with extensive use of infographics. Use the special section on meditation and yoga to ease and nourish the mind and body of both you and your child.